


How to fix a Robot Cable Break & Change Robot Blades
Fixing a Robot Cable Break?
Although the wiring for robotic lawn mowers are quite robust, they are not immune to damage. When gardening damages can occur unintentionally in the loop wire. Particularly if the robot wire has been stretched excessively during installation. Luckily, breaks in the robot wire is not a regular occurrence. The good news is utilising a simple robot lawnmower repair kit can act as a quick fix method.
This simple repair kit for Husqvarna Auto mowers and Stiga / Honda robot mowers contains a length of boundary wire and two connectors / splicers, so that you can easily repair a break.
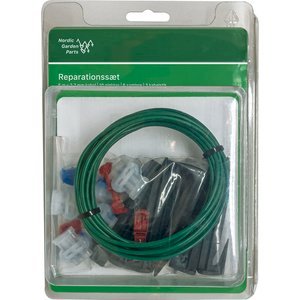
When joining the boundary wires:
1. Insert both cable ends into the coupler. Make sure the wires are fully inserted in the coupler by checking that the ends are visible through the transparent area on the opposite side of the coupler.
2.Now fully press down the button on top of the connector. Use a pair of pliers if the button on the coupler is difficult to press down by hand.
If the supplied boundary wire is not long enough to cover the entire working area, extra wire can be added using an original coupler. The total length of the boundary loop should however not exceed 800 meters.
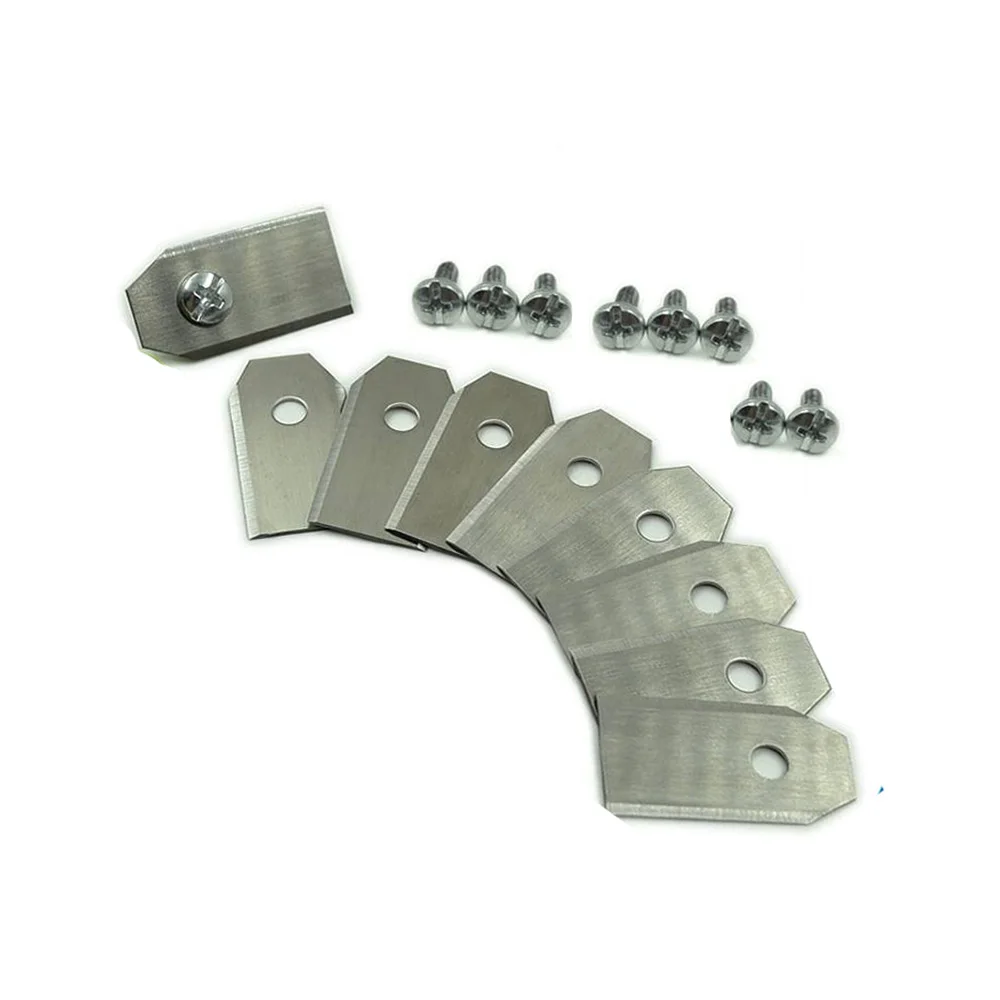
Step by Step guide when Changing Robot Blades:)
https://chainsawlawnmower.com/categories/blades-2
- Ensure the primary switch is turned off
- Wear protective gloves
- Turn your robot lawnmower upside down
- Rotate the skid plate so that its hole aligns with the screw for the blade.
- Unscrew the blade. Use a straight slot or cross-tip screwdriver, preferably magnetic for easier removal of the screw
- Move apart the skid plate and blade disc a small bit and remove the screw and blade.
- Wash out any dirt using a dish cleaning brush and a soft damp cloth
- Insert the new blade tight with a new screw. Note, when replacing the blade Always replace the screw too.
- Check to make sure the new blades spin effectively
